Fake Fire Part 2
/I was going to make fake fire. I found the idea on Pinterest (that site can be addicting!) and ordered all the supplies. The first to arrive was the plastic...

It looked innocent enough. But it was rolled so tightly, I had to flatten it for several days weighing it down with heavy books on my dining room table. Next I had to cut out paper flames, then use these to cut out the plastic shapes. I had purchased red and yellow dye so then I had to cook the plastic on the stove top in the dye. So far so good.

Not having a heat gun, which you use to form the plastic, I bought one!
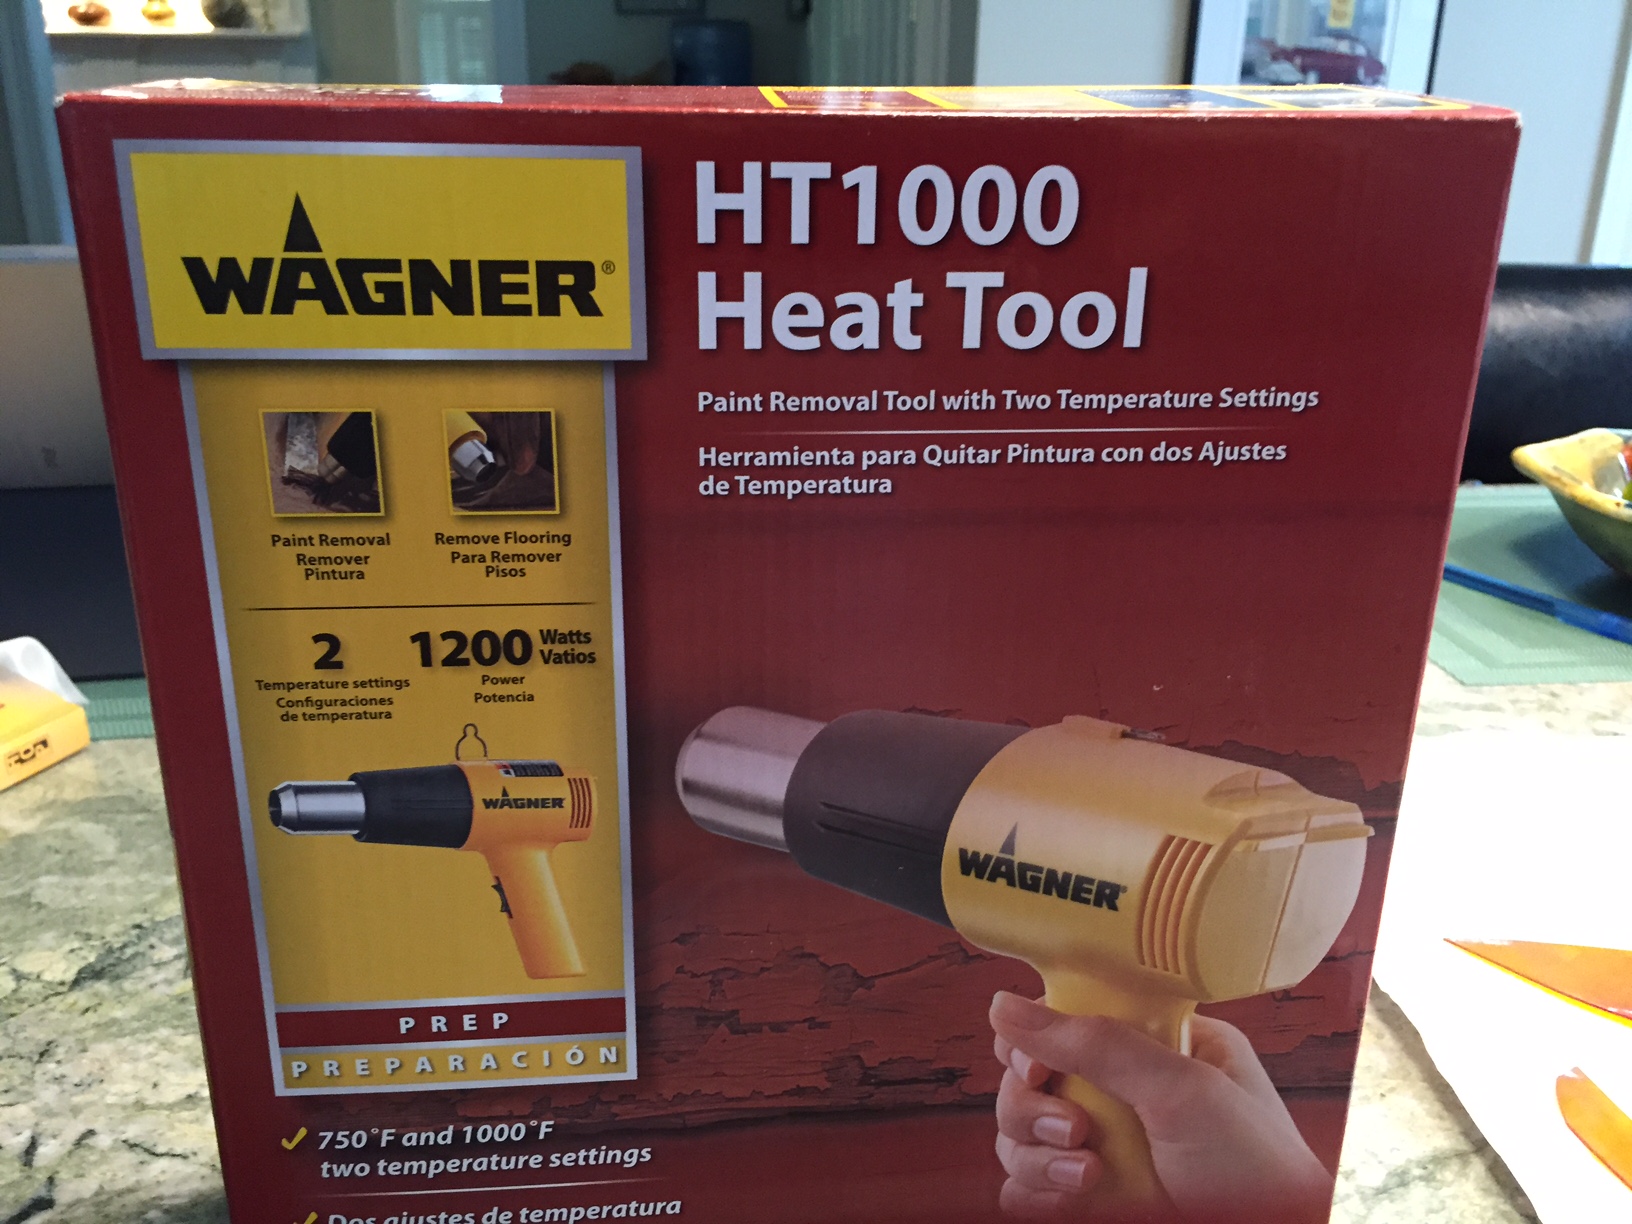
First gun I've ever owned!
The final step was to heat the plastic shapes and form them into flames. All was going swimmingly and I was feeling rather proud of myself until I went to move the gun out of the way. Without thinking (of course, who would think to do this!) I picked it up by the metal end which was very very hot. I immediately found some ice cubes to stop the burning on my fingers.
Then I called my sister. She had shared that her adopted Polish grandmother (long story) had told her to use baking soda on burns. She had burned herself recently trying to move a casserole fresh from the oven. She inserted her hand in a bowl of the stuff and left it there for hours. The next day her hands were normal! I needed this miracle.
So I did exactly what she did. I have to tell you the pain went away almost immediately. I left my hand in baking soda (just dry, no water) for about 12 hours--I burned myself in the morning and kept it in the bowl until bedtime. That night I went to bed and the next morning, voila, my hand was almost as if I'd never been burned.
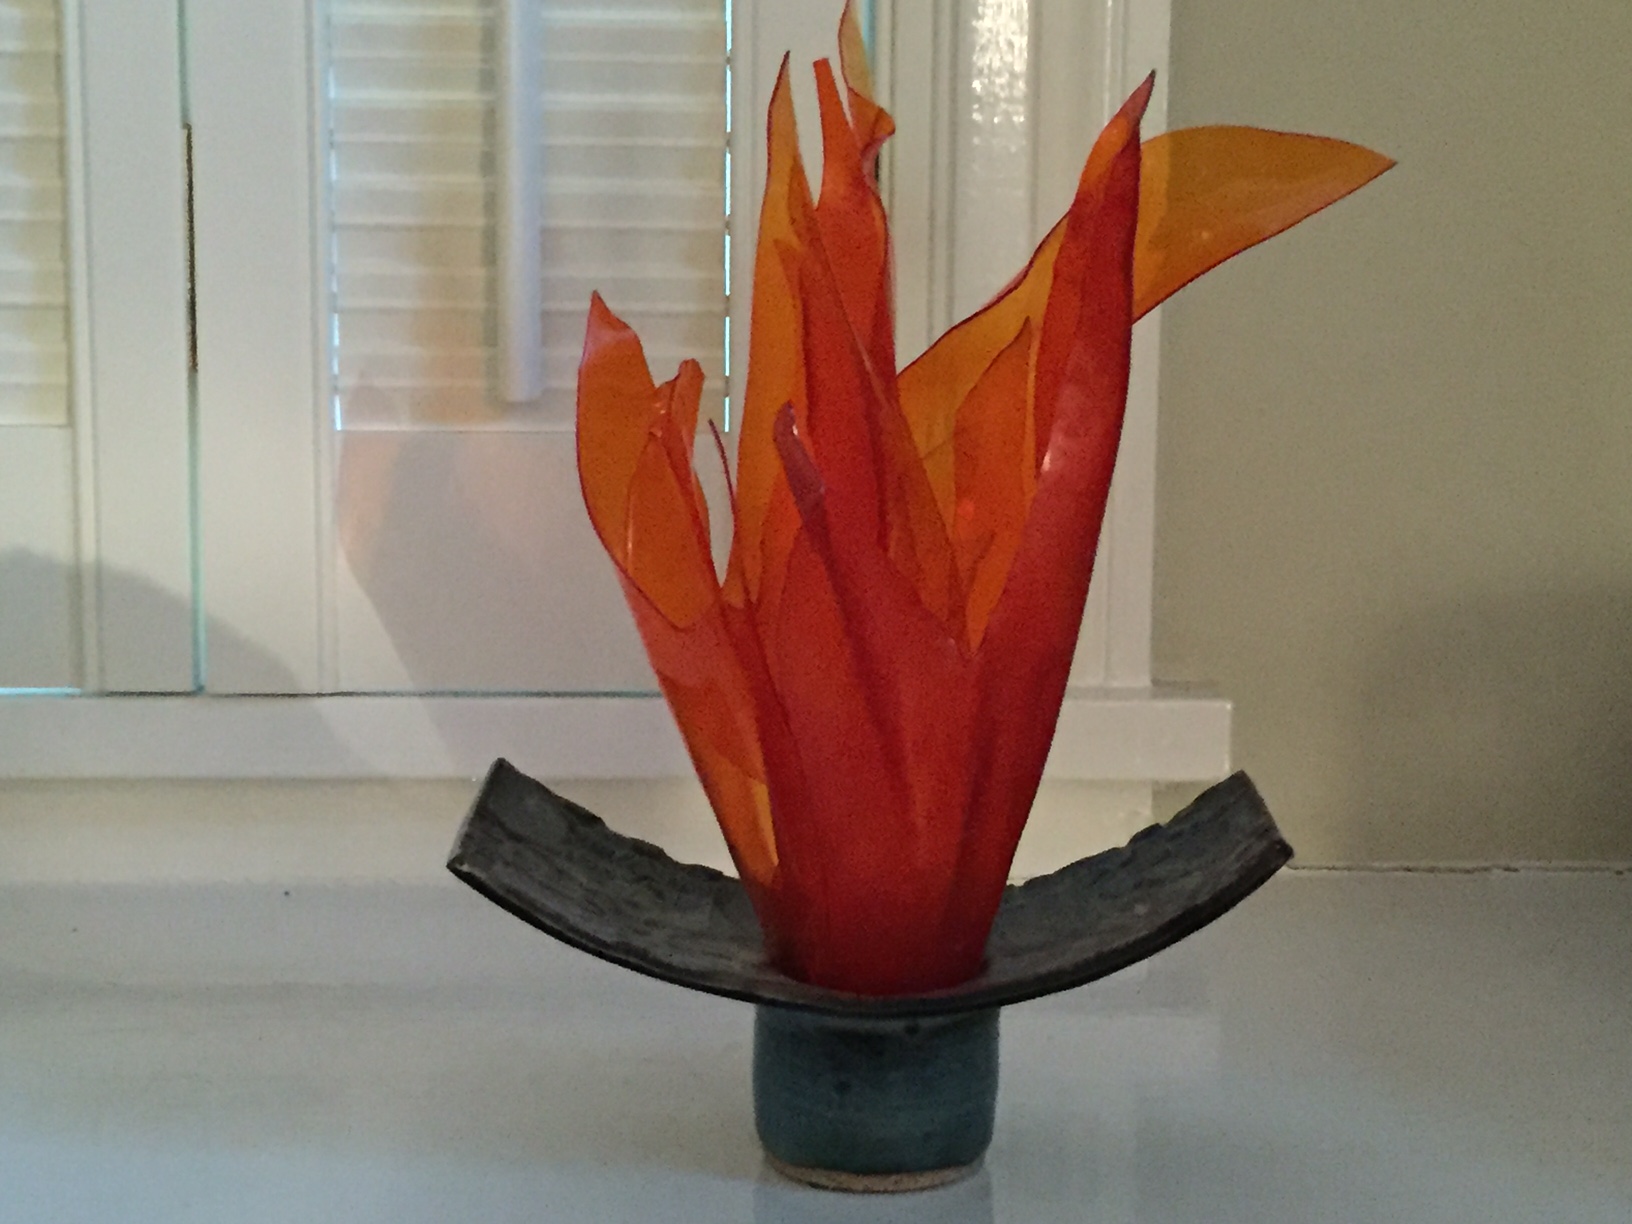
Of course, while my left hand was in baking soda, I knew I needed to finish the fire I'd started. I plugged in the heat gun and went back to work, being very very careful this time.
Here is the finished product. I won't show you a picture of my hand since you'd just say it looks normal!